


itchyTF
Gold $$ Contributor
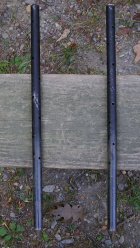
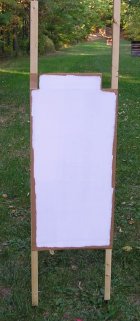
Recently, in the Daily Bulletin, there was an article about a portable target stand made of PVC tubing assembled on site. I made an inexpensive stand using 2x2 lumber for poles and 18" spikes (can't remember their official name).
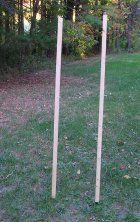
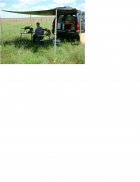
The poles are longer than necessary for target use but I also use them to hold up a tarp in the PD fields to extend the shade.
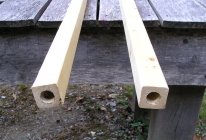
First bore a 3/4" hole in the bottom of the poles about 9" deep.
Cut the poles to the desired length.
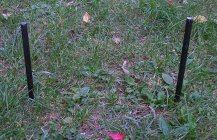
Hammer one spike in the ground.
Staple one edge of the target or backer to the pole.
Slip the other spike in the bottom of the other pole and position it so it lines up with the other edge of the target/backer.
Use the pole as a starter for the spike by sliding it up & down like a hammer.
Slide the pole off and use a hammer to finish setting the spike.
Put the pole back on and staple the other side of the target/backer.
It may sound like a lot of steps but it really isn't and it's flexible for any size.
In the picture, the cardboard is painted white to be able to see 6mm holes at 400 yds. (without mirage).
The poles are longer than necessary for target use but I also use them to hold up a tarp in the PD fields to extend the shade.
First bore a 3/4" hole in the bottom of the poles about 9" deep.
Cut the poles to the desired length.
Hammer one spike in the ground.
Staple one edge of the target or backer to the pole.
Slip the other spike in the bottom of the other pole and position it so it lines up with the other edge of the target/backer.
Use the pole as a starter for the spike by sliding it up & down like a hammer.
Slide the pole off and use a hammer to finish setting the spike.
Put the pole back on and staple the other side of the target/backer.
It may sound like a lot of steps but it really isn't and it's flexible for any size.
In the picture, the cardboard is painted white to be able to see 6mm holes at 400 yds. (without mirage).
") Thanks for your contribution it is a great idea.
Thanks for your contribution it is a great idea.
 LOL.
LOL.