Oh, no - - another frame for the ShotMarker!
Well, yes. This one may not be better, or worse than the others, but it has a few differences that perhaps may be helpful to anyone who is about to build such a frame.
I wanted a frame small enough to fit in a small/medium size SUV, or in a large car trunk. I also wanted it to be stand alone, and as easy as possible to setup & take down quickly.
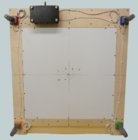
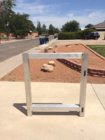
The frame and part of the base are made out of one-full-inch thick solid Oak board, 11-1/4” wide by four feet long, which I cut into four pieces 2-5/8” wide. I used this wood because Menard’s had them on sale for $10 a board, and I bought several for future projects, not knowing at the time that I would use one board to make a ShorMarker frame. The rest of the base is made out of of a stud 2” x 4”.
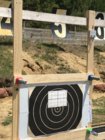
The target backer is Coroplast, and I designed the frame so the backer is 24” x 32”, which means I can get six backers out of a 4’ x 8’ sheet. The Coroplast lower edge fits into a groove on the frame, and the top edge and sides are held with Ø1/4” dowels. I made the holes on the Coroplast with a paper puncher. This makes for very easy backer installation and removal.
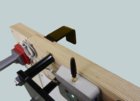
I used wire clips from Amazon to secure the wires, and the clips allow for easy insertion and removal of the wires. The wires are semi-permanently attached to the frame with the clips, and it is very easy and fast to connect them to the Sensor Hub and to each Sensor when setting things up a the range.
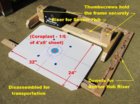
Once at the range: (1) set the base on the ground, (2) insert the frame into the base sockets, (3) tighten the two thumb screws to secure the frame to the sockets so the frame does not wiggle, (4) attach the Sensor Hub riser to the frame (two Ø1/4” dowel pins), (5) attach the Hub to the riser (two screws set at the proper height), (6) connect the four color-coded wires, and (7) attach the Coroplast backer. Ready to go.
Disassembled for transportation >
Assembly begins . . .

Wires connected . . .

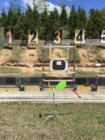
Ready to go!

I'll be glad to answer any questions; and yes, I have used it three times so far, and takes about three minutes to setup.
Alex


