AlNyhus
Silver $$ Contributor
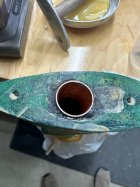
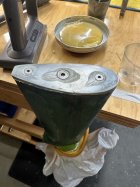
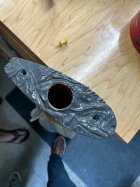
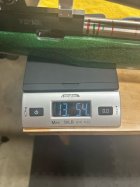
Recently, @jimmymac and I worked up a weight system for his LV gun (10.5 lbs) to bring it up to HV weight (13.5) and better balance it. Jim sent his butt plate and a piece of .750 O.D. tungsten copper rod 8" long to use as the weight. Here's what we did, in case someone is looking at doing something along these lines.
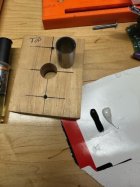
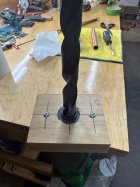
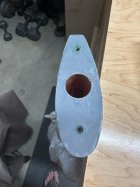
First thing was to drill and tap the tungsten copper rod for 1/4-20 threads. Not a great pic but you get the idea.

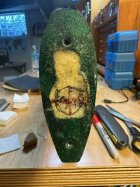
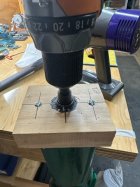
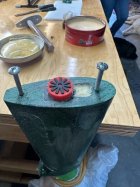
Jim had marked the butt plate where he wanted the weight to go. Milled a .250 hole in it at that location and did a 82 degree counter sink. Then, a stainless flat head Allen cap screw was used. The O.D. was reduced and it was faced it off to be well below the butt plate. In progress:

Final product with the weight bolted to it:


Having used this before for weight tubes, a piece of 3/4" Schedule 'M' hard copper tube (.875 O.D. and .811 I.D.) got the nod. This gives right at .061 clearance between the weight and the I.D. of the tube....more on that later. To close the end of the tube, a brass plug was made with an .875 O.D. flange at the end. The inner part of the plug is recessed and a piece of 3/4" thick anti fatigue mat is epoxied in as a 'bumper' for the weight. The plug is then epoxied into the tube.

The tube is cut to a length that allows about 3/16" of the 'bumper' to be compressed before the butt plate contacts the tube. The front of the weight is always in compression and the weight is pulled backward in recoil by the butt plate...not shoved backwards by the stock. Here's the amount of compression.

Stock tube and weight ready to be epoxied into the stock. The copper tube was hit with some 60 grit for the epoxy.

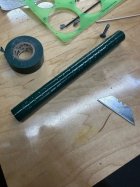
In use, the weight will be wrapped with tape until it's a slight interference fit into the tube. This stabilizes the weight and spreads the load of the weight out over the entire length of the inside of the tube.
At this point, I stuffed it in the satchel of the next Pony Express rider that stopped at my sod hut to water his horse. "Head it towards where the sun comes up." were his instructions. Off he went.
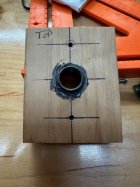
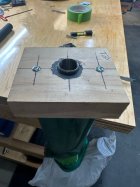
Jim then did the hard work and ended up with a slick installation into the butt of the stock. He'll pick up the narrative from here and bring it home.
Good shootin' -Al
First thing was to drill and tap the tungsten copper rod for 1/4-20 threads. Not a great pic but you get the idea.

Jim had marked the butt plate where he wanted the weight to go. Milled a .250 hole in it at that location and did a 82 degree counter sink. Then, a stainless flat head Allen cap screw was used. The O.D. was reduced and it was faced it off to be well below the butt plate. In progress:

Final product with the weight bolted to it:


Having used this before for weight tubes, a piece of 3/4" Schedule 'M' hard copper tube (.875 O.D. and .811 I.D.) got the nod. This gives right at .061 clearance between the weight and the I.D. of the tube....more on that later. To close the end of the tube, a brass plug was made with an .875 O.D. flange at the end. The inner part of the plug is recessed and a piece of 3/4" thick anti fatigue mat is epoxied in as a 'bumper' for the weight. The plug is then epoxied into the tube.

The tube is cut to a length that allows about 3/16" of the 'bumper' to be compressed before the butt plate contacts the tube. The front of the weight is always in compression and the weight is pulled backward in recoil by the butt plate...not shoved backwards by the stock. Here's the amount of compression.

Stock tube and weight ready to be epoxied into the stock. The copper tube was hit with some 60 grit for the epoxy.

In use, the weight will be wrapped with tape until it's a slight interference fit into the tube. This stabilizes the weight and spreads the load of the weight out over the entire length of the inside of the tube.
At this point, I stuffed it in the satchel of the next Pony Express rider that stopped at my sod hut to water his horse. "Head it towards where the sun comes up." were his instructions. Off he went.
Jim then did the hard work and ended up with a slick installation into the butt of the stock. He'll pick up the narrative from here and bring it home.
Good shootin' -Al
Last edited:


